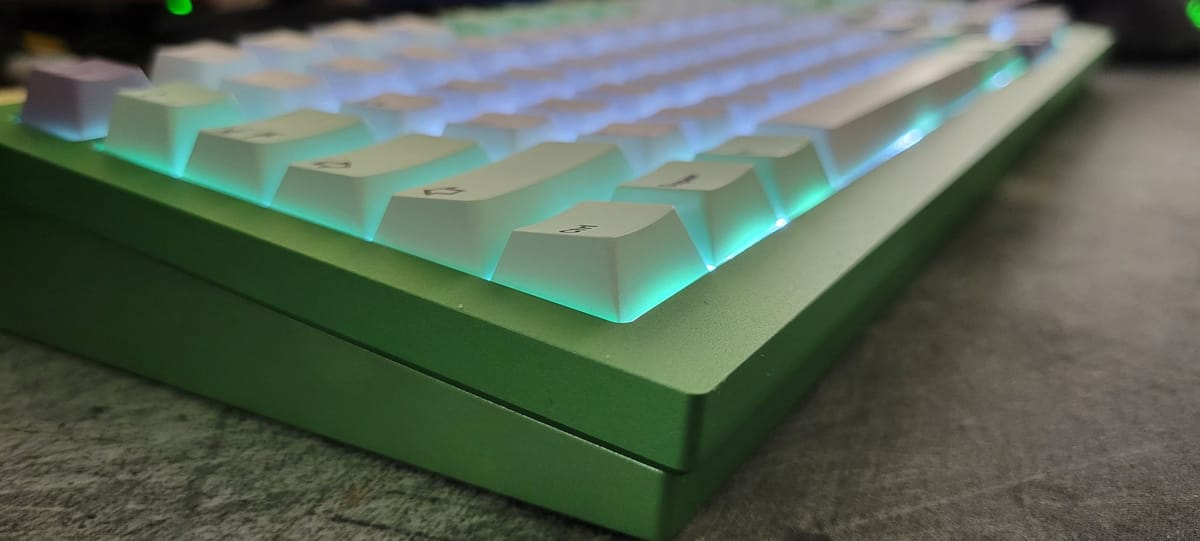
Adding Hole Through LEDs to Your Brutalist Keyboard

So, a little different piece of content because of my recent obsession with keyboards. I just went through a hell of adventure figuring out how to do this after building my new Rekt 1800 keyboard because (CannonKeys)CK does not provide the most noob friendly guide on how it all works.
Below are the basic steps and I will explain all of them expect building the keyboard since that is better explained by others that have way more experience than myself.
STEP 1: Build Your Keyboard!
This is the one step I am not going to explain fully but you know get your Case, PCB, Plate, Stabilizers, Switches, and Keycaps. Put it together solder and test make sure it fully works before adding LEDs
Here are some general build guides and YouTube videos for those unfamiliar.
Official Build Guide for the Brutalist Series (The Rekt1800 is part of this collection)
Beginners Video from Kristofer Yee
Build Video of a Rekt1800 by Tap Tap Tien
STEP 2: Buy and Install LEDs
For the Rekt 1800 and all brutalist keyboards (AFAIK) it supports two kinds of LEDs 1.8 MM round LEDs or 2x3x4 LEDs. I ordered 2x3x4 white LEDs by CHANZON which worked great and were quick to ship.
IMPORTANT THING TO KNOW LEDs need to be wired in the correct way so make sure you know which side of your LEDs are positive and which is negative and match it to your PCB. For the CK boards their PCB looks like this:

Red spots are where the LEDs get soldered into. The square side is the negative, circle is positive in most cases. This is very obvious from the back side of the PCB. On the LEDs I bought; the longer wire was the positive side. For my build I needed to put the longer wire into the circle side and shorter wire in the square side.
To install these, you go through the switch and with the correct polarity aka positive to positive and negative to negative.

Once you get 1 or more through make sure it is fully seated where you want it. Bend the wires to keep the LED in place so you can solder a bunch of them at a time.
OK now you have a bunch of LEDs inserted, time to solder them up and make sure not to bridge the two pads. After this step clip the excess wire from the LED. Rinse and repeat until you have every LED soldered in.
Once you have this done, double check your work and plug in your keyboard. Make sure all the lights turn on and work correctly.
STEP 3: Download and Modify JSON
Time to grab your JSON for those of you with a Rekt 1800 you will get your JSON from HERE. if you have a different CannonKeys Keyboard go up the directory to the CannonKeys part and then click to the keyboard you have and go to its JSON. Open the JSON in a text editor like VS Code or Notepad++ locate the line that says "lighting": "none" and change it to "lighting": "qmk_backlight".
This is what this keyboard supports and will allow you control some basic functions from your keyboard or the VIA software.
Save these changes and you will be ready for this next step
STEP 4: Load JSON and Add Supported Controls
OK now you have some JSON to load so first step open VIA and go to the settings page and enable the DESIGN tab.

Click on the DESIGN tab, click Load and select your JSON file you saved with the changes to the lighting property.

Now click the CONFIGURE tab, select another layer and click in the bottom half of the screen QMK LIGHTING Now bind the following functions BL Toggle, BL- BL+ BR Toggle. BL Toggle Turns the Lighting on and off if the keyboard is not in breathing mode. BL + and BL- increase and decrease brightness. BR Cycle enables and disables the breathing lighting function.

On the configure tab as well you can control the lighting in the upper left by clicking LIGHTING. Effect is the breathing mode that was on by default for me and there is a Brightness slider.

YOU SHOULD NOW HAVE LEDs WORKING AND CONFIGURABLE!
I hope this little guide helped some people out there and let me know if you would like any help and if you liked this guide feel free to check out my social media or stream. If you really enjoyed this guide you can support my coffee and camera addiction here I even accept anonymous ways like Monero. Shout out to ApiaryKeyboards who inspired me to do this build and her Discord community that helped me figure out how to get the JSON file.